All courses
Agentic AI
Agentic AI
Artificial Intelligence
Degree / Exec. PG

IIIT Bangalore
Executive Diploma in Machine Learning and AI
OPJ Global University
Master’s Degree in Artificial Intelligence and Data Science
Liverpool John Moores University
Master of Science in Machine Learning & AI
Golden Gate University
DBA in Emerging Technologies with Concentration in Generative AIExecutive Certificate

IIITB & IIM, Udaipur
Chief Technology Officer & AI Leadership Programme
IIIT Bangalore
Executive Programme in Generative AI for Leaders
upGrad | Microsoft
Gen AI Foundations Certificate Program from MicrosoftupGrad | Microsoft
Gen AI Mastery Certificate for Data AnalysisupGrad | Microsoft
Gen AI Mastery Certificate for Software DevelopmentupGrad | Microsoft
Gen AI Mastery Certificate for Managerial ExcellenceOffline Bootcamps

upGrad
Data Science and AI-MLDoctorate
For All Domains
IIITB & IIM, Udaipur
Chief Technology Officer & AI Leadership Programme
Swiss School of Business and Management
Global Doctor of Business Administration from SSBM
Edgewood University
Doctorate in Business Administration by Edgewood UniversityGolden Gate University
Doctor of Business Administration From Golden Gate University
Rushford Business School
Doctor of Business Administration from Rushford Business School, SwitzerlandGolden Gate University
Master + Doctor of Business Administration (MBA+DBA)-d9bdeff6165f4eb1ba2adcebde78e961.svg)
University of Waterloo
Chief Technology and AI Officer ProgramLeadership / AI
Golden Gate University
DBA in Emerging Technologies with Concentration in Generative AIMachine Learning
Machine Learning
Data Science
Degree / Exec. PG
O.P Jindal Global University
Master’s Degree in Artificial Intelligence and Data ScienceIIIT Bangalore
Executive Diploma in Data Science & AILiverpool John Moores University
Master of Science in Data ScienceExecutive Certificate
upGrad | Microsoft
Gen AI Foundations Certificate Program from MicrosoftupGrad | Microsoft
Gen AI Mastery Certificate for Data AnalysisupGrad | Microsoft
Gen AI Mastery Certificate for Software DevelopmentupGrad | Microsoft
Gen AI Mastery Certificate for Managerial ExcellenceupGrad | Microsoft
Gen AI Mastery Certificate for Content CreationOffline Bootcamps
upGrad
Data Science and AI-MLupGrad
Data AnalyticsMBA
Masters

Paris School of Business
Master of Science in Business Management and TechnologyO.P.Jindal Global University
MBA (with Career Acceleration Program by upGrad)Edgewood University
MBA from Edgewood UniversityO.P.Jindal Global University
MBA from O.P.Jindal Global UniversityGolden Gate University
Master + Doctor of Business Administration (MBA+DBA)Executive Certificate

IMT, Ghaziabad
Advanced General Management ProgramMarketing
Executive Certificate
Offline Bootcamps
upGrad
Digital MarketingManagement
Degree
O.P Jindal Global University
MSc in International Accounting & Finance (ACCA integrated)Paris School of Business
Master of Science in Business Management and Technology
Golden Gate University
Master of Arts in Industrial-Organizational PsychologyExecutive Certificate

IIM Kozhikode
Human Resource Analytics Course from IIM-KupGrad | Microsoft
Gen AI Foundations Certificate Program from MicrosoftEducation
Education

Northeastern University
Master of Education (M.Ed.) from Northeastern UniversityEdgewood University
Doctor of Education (Ed.D.)Edgewood University
Master of Education (M.Ed.) from Edgewood UniversityCertifications
Project Management
Certification

Knowledgehut
Leadership And Communications In ProjectsKnowledgehut
Microsoft Project 2007/2010-ae8d039bbd2a41318308f8d26b52ac8f.svg)
Knowledgehut
Financial Management For Project ManagersKnowledgehut
Fundamentals of Earned Value Management (EVM)Knowledgehut
Fundamentals of Portfolio ManagementKnowledgehut
Fundamentals of Program Management-35c169da468a4cc481c6a8505a74826d.webp&w=128&q=75)
Knowledgehut
CAPM® CertificationsKnowledgehut
Microsoft® Project 2016Certifications & Trainings
-7f4b4f34e09d42bfa73b58f4a230cffa.webp&w=128&q=75)
Knowledgehut
PMP® CertificationKnowledgehut
PMI-RMP® CertificationKnowledgehut
PMP Renewal Learning PathKnowledgehut
Oracle Primavera P6 V18.8Knowledgehut
Microsoft® Project 2013Knowledgehut
PfMP® Certification CourseKnowledgehut
Project Planning and MonitoringPrince2 Certifications

Knowledgehut
PRINCE2® FoundationKnowledgehut
PRINCE2® PractitionerKnowledgehut
PRINCE2 Agile Foundation and PractitionerKnowledgehut
PRINCE2 Agile® Foundation CertificationKnowledgehut
PRINCE2 Agile® Practitioner CertificationManagement Certifications
Knowledgehut
Project Management Masters Certification ProgramKnowledgehut
Change ManagementKnowledgehut
Project Management TechniquesKnowledgehut
Product Management Certification ProgramKnowledgehut
Project Risk Management- Study abroad
- Offline centres
- uGSOT - B.Tech
More


2. HTML Basics
3. HTML Syntax
9. HTML Head
10. HTML Title
11. HTML Styles
12. HTML Paragraphs
13. HTML Symbols
14. HTML Emojis
15. HTML Formatting
16. HTML Entities
17. HTML Audio
18. HTML Images
19. HTML Lists
20. HTML Links
21. SVG in HTML
22. HTML Forms
23. HTML Video
24. HTML Canvas
25. Adjacency Lists
26. HTML Input Types
27. HTML Tables
31. HTML Layout
33. HTML Div
37. HTML Iframes
40. HTML Code
41. HTML Colors
42. HTML CSS
43. HTML Editors
44. HTML Examples
45. Class in HTML
46. HTML Exercises
47. HTML ID
49. HTML Table Style
50. HTML Script
HTML Images
The first web pages only consisted of text elements. Thankfully, the only-text phase was quite short. Soon after, images and other forms of elements were introduced in webpages. Using HTML images in web pages is a common affair nowadays.
Having used images in my personal projects for a long time, I can say without a doubt that they make web pages a lot more interactive and interesting. In this tutorial, we will learn in-depth about how to use images in HTML.
How to Add Image to HTML
When we want to insert a simple image into a webpage, we use the <img> tag. The <img> tag has two fields. There is the HTML img src tag field where you have to specify the path to the image file, and there is the alt field where you have to name the image. The src field helps the compiler figure out where to retrieve the image file from and the alt field helps to easily use the image later while developing the web page.
Now let me explain the HTML img syntax for inserting an image into a web page.
Syntax:
<!DOCTYPE html>
<html lang="en">
<head>
<meta charset="UTF-8">
<meta name="viewport" content="width=device-width, initial-scale=1.0">
<title>Inserting an Image file in HTML</title>
</head>
<body>
<img src="/Location/of/the/imageFile.jpg" alt="Description of the image" />
</body>
</html>
Here, the image is inserted using the <img> tag. The HTML img tag attributes include src and alt, as mentioned before. In the src field, here it is named /Location/of/the/imageFile.jpg. You can change it to the HTML image source of your choice. For example, if the desired image is inside a folder named images, which was inside a folder named assets, the <img> tag would look something like this.
<img src="/assets/images/imafeFile.jpg" alt="Description of the image">
Rather than embedding images found on our own server or file system, we can also hyperlink image HTML. This means you can directly put in the link of an image in a website already live in the arc attribute, and it will show up on your website just fine.
However, this is not recommended as it is less efficient than having the images on your own server in one place. The time taken to load an image from another website is quite a lot. Also, this is unethical because it puts an unnecessary load on the server of the website from which you are extracting your image.
Code:
<!DOCTYPE html>
<html lang="en">
<head>
<meta charset="UTF-8">
<meta name="viewport" content="width=device-width, initial-scale=1.0">
<title>Inserting an Image file in HTML</title>
</head>
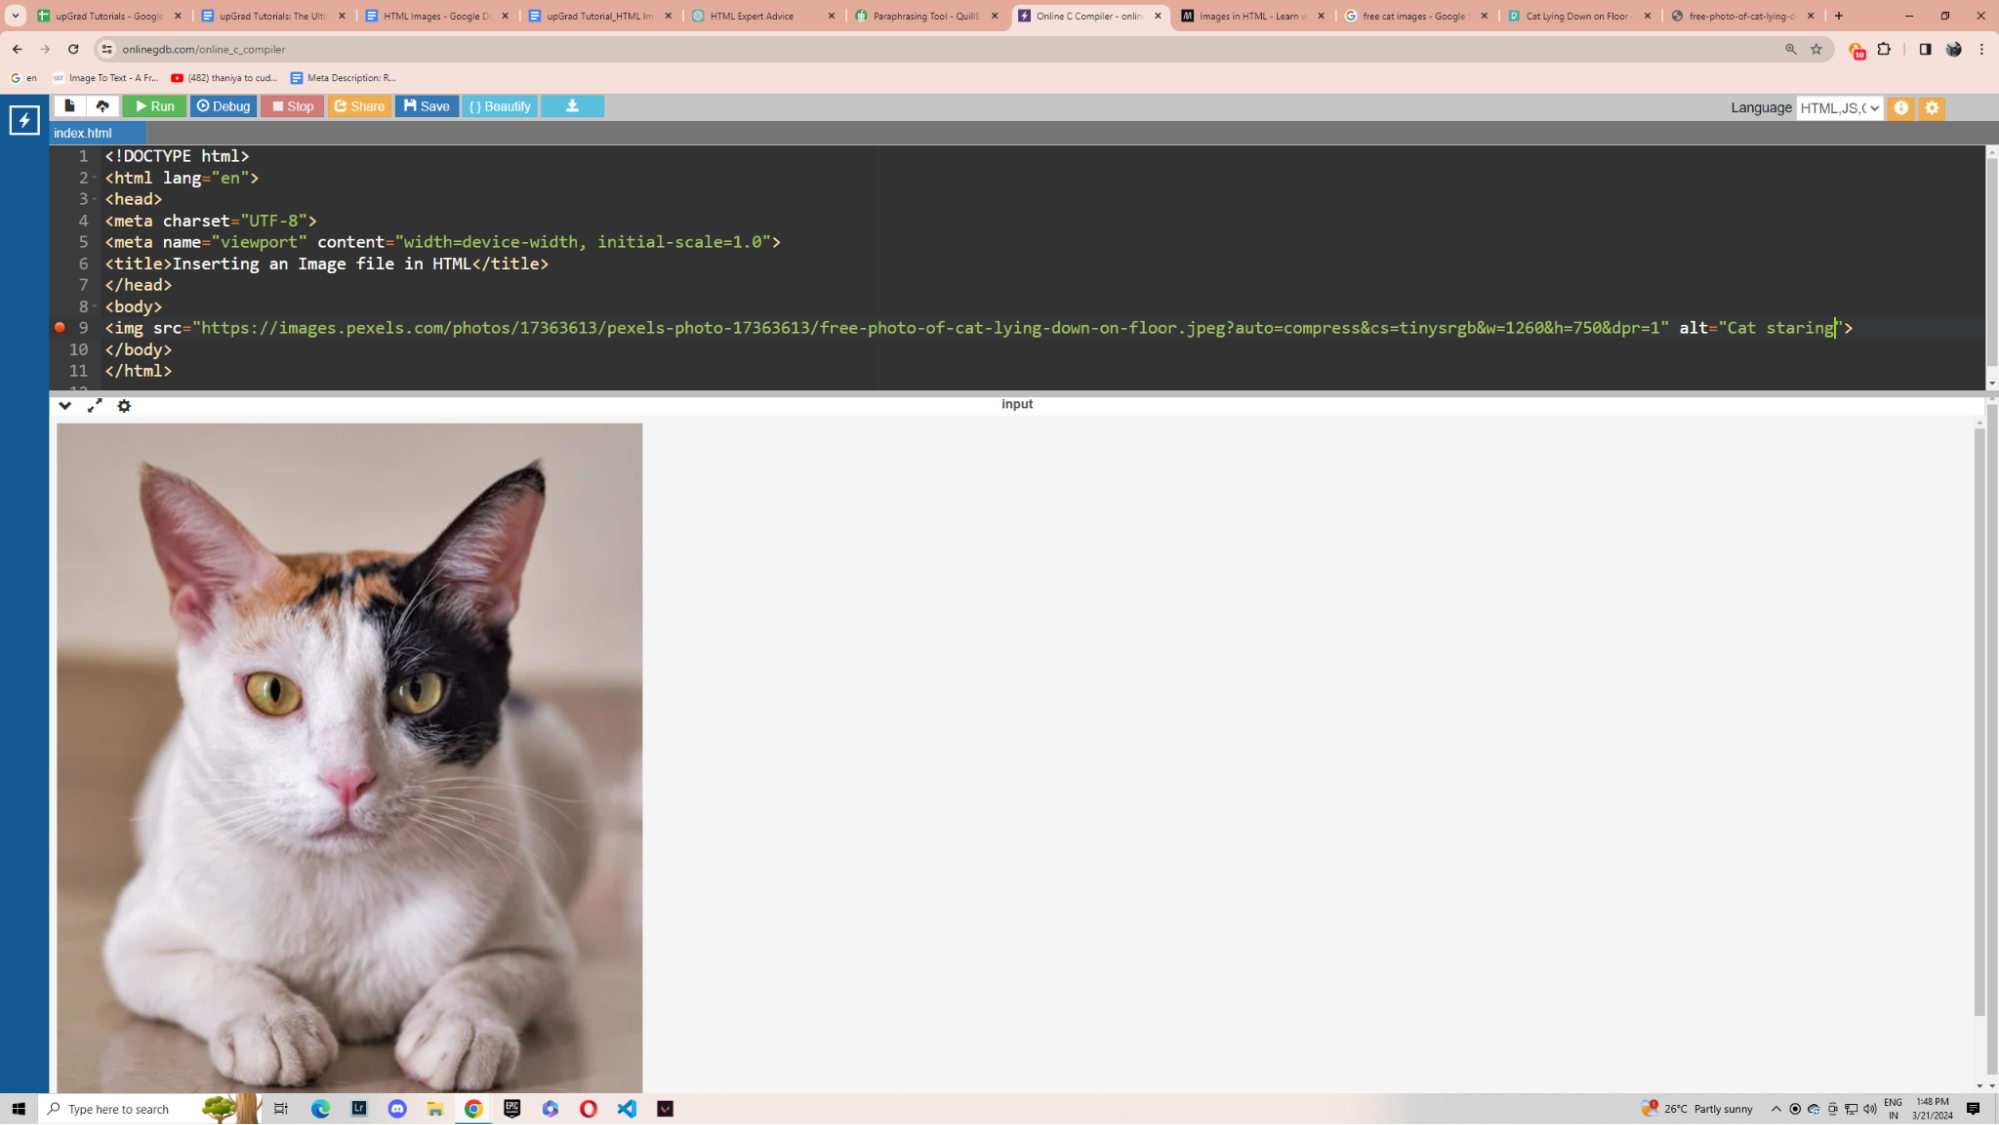
<body>
<img src="https://images.pexels.com/photos/17363613/pexels-photo-17363613/free-photo-of-cat-lying-down-on-floor.jpeg?auto=compress&cs=tinysrgb&w=1260&h=750&dpr=1" alt="Cat staring" />
</body>
</html>
In this example, the picture of the cat is taken from a foreign website linked in the src attribute. This is an HTML image tag example.
What is Alt Text or Alternative Text?
The alt attribute in HTML is used to offer alternative text for pictures created using the <img> tag. This text appears when the HTML images cannot be loaded or when a user accesses the page with assistive devices such as screen readers. The alt text plays an important role in SEO optimization.
The alt text is written in the alt attribute in the <immg> tag. Let me show you how with the help of an example.
Code:
<!DOCTYPE html>
<html lang="en">
<head>
<meta charset="UTF-8">
<meta name="viewport" content="width=device-width, initial-scale=1.0">
<title> Alt text in HTML Images Example </title>
</head>
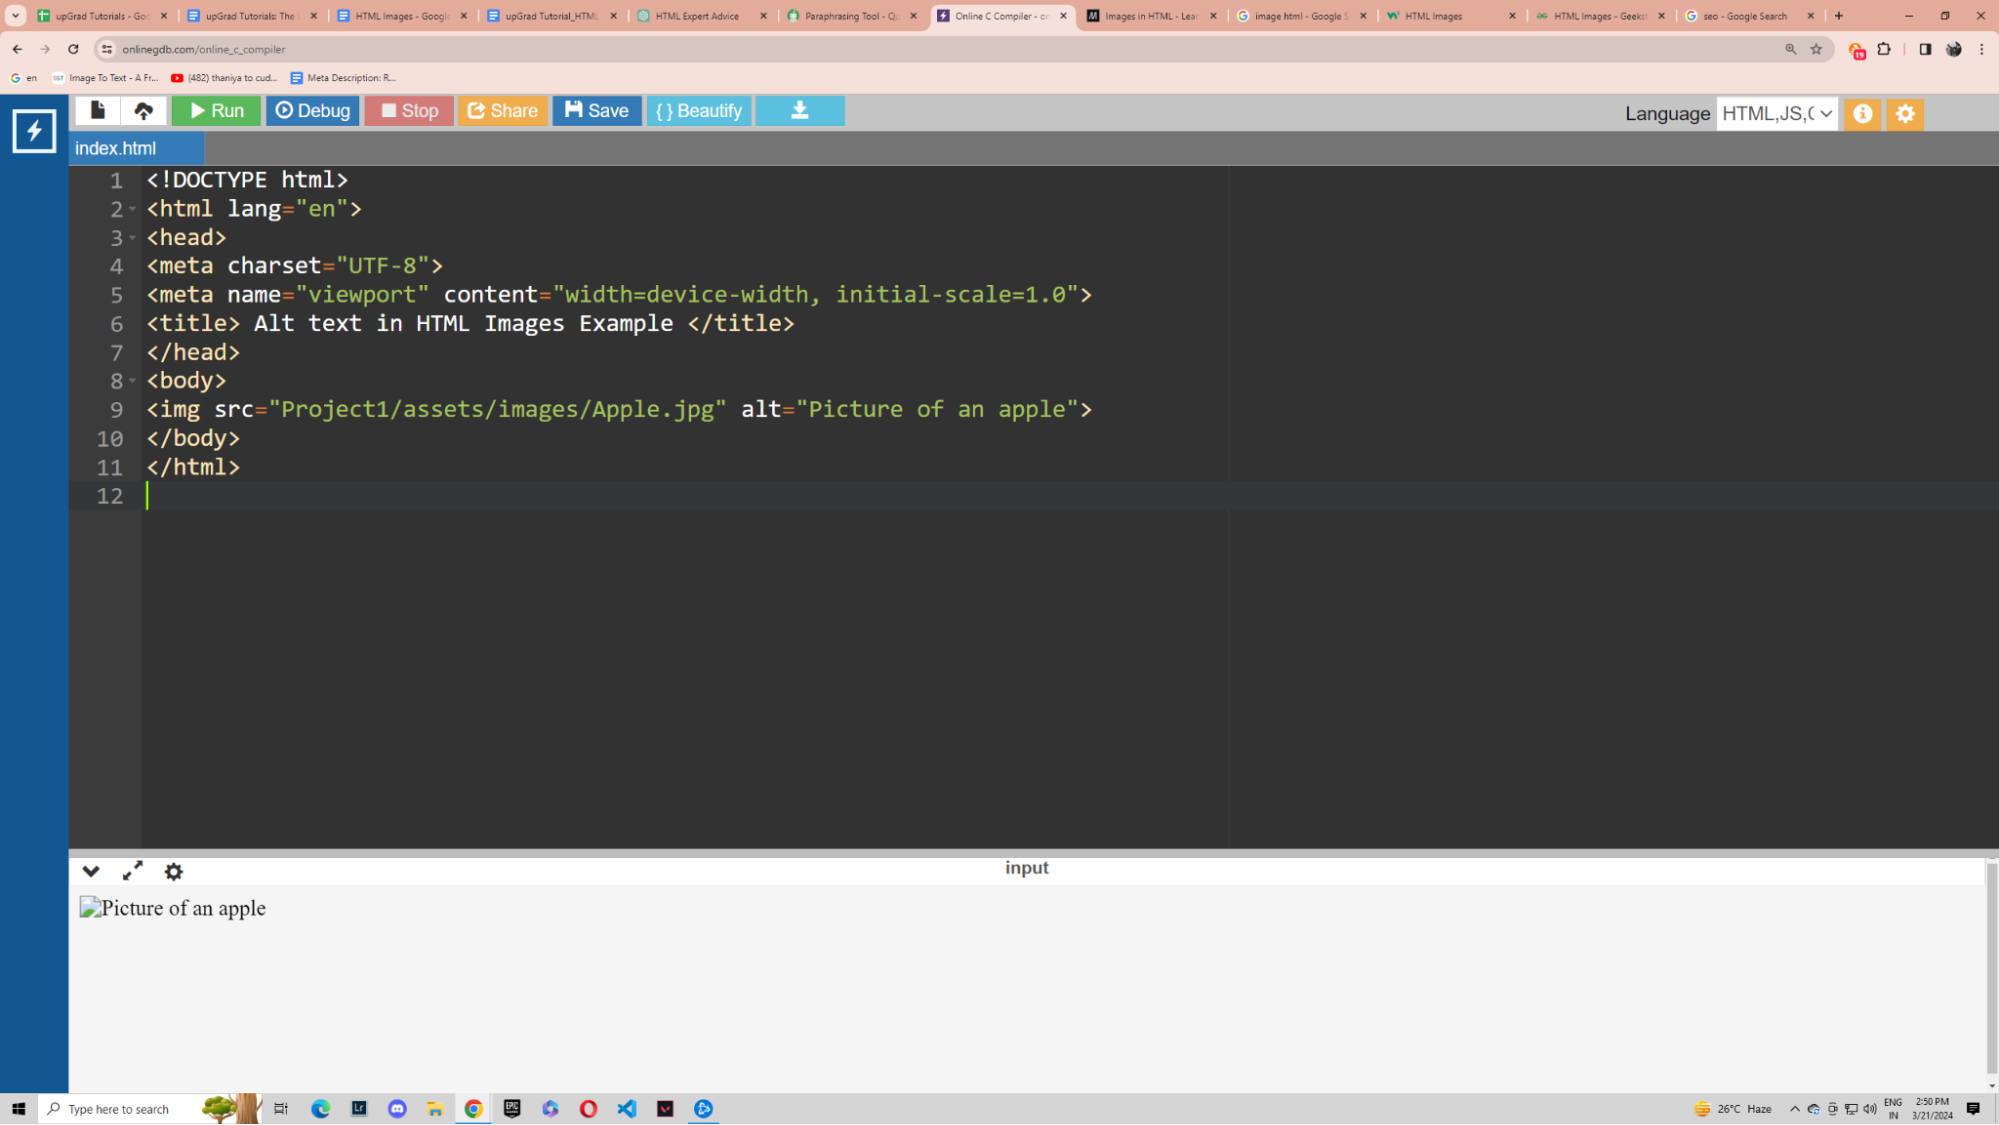
<body>
<img src="Project1/assets/images/Apple.jpg" alt="Picture of an apple" />
</body>
</html>
As you can see from the above example, in the output, the compiler could not find the desired file Apple.jpg as intended. Thus, it shows the alt text provided, which is “Picture of an apple”.
Now, you may ask, ‘why should we use alt text at all? What is the need?’ Let me answer why alt text is important for HTML images.
SEO (Search Engine Optimization)
Alt text helps search engines understand the contents of HTML images, which may increase a web page's overall SEO ranking. Including important keywords in the alt text helps search engines index and rank the page more accurately.
Fallback Content
If the picture is unable to load for reasons like a slow network connection, bugs, or server issues, the alt text will be displayed instead. This guarantees that viewers continue to receive useful information even when the image is not available.
Accessibility
Alt text is crucial for people who use screen readers or other assistive technology to access web content. It describes the HTML images in language, allowing visually challenged users to understand its content and context.
Legal Fair play
In certain instances, providing alt text is required by law to make websites accessible to all users, including those with disabilities. Failure to supply HTML images with appropriate alt text may lead to legal problems.
Adjusting Width and Height
We can adjust the width and height of HTML images to better adjust the aesthetics of our webpage. This can be done using the height and the width attributes. We can specify how much space we want the image to occupy on the webpage by specifying these attributes inside the <img> tag.
Let me demonstrate this with an example.
Code:
<!DOCTYPE html>
<html lang="en">
<head>
<meta charset="UTF-8">
<meta name="viewport" content="width=device-width, initial-scale=1.0">
<title>Inserting an Image file in HTML</title>
</head>
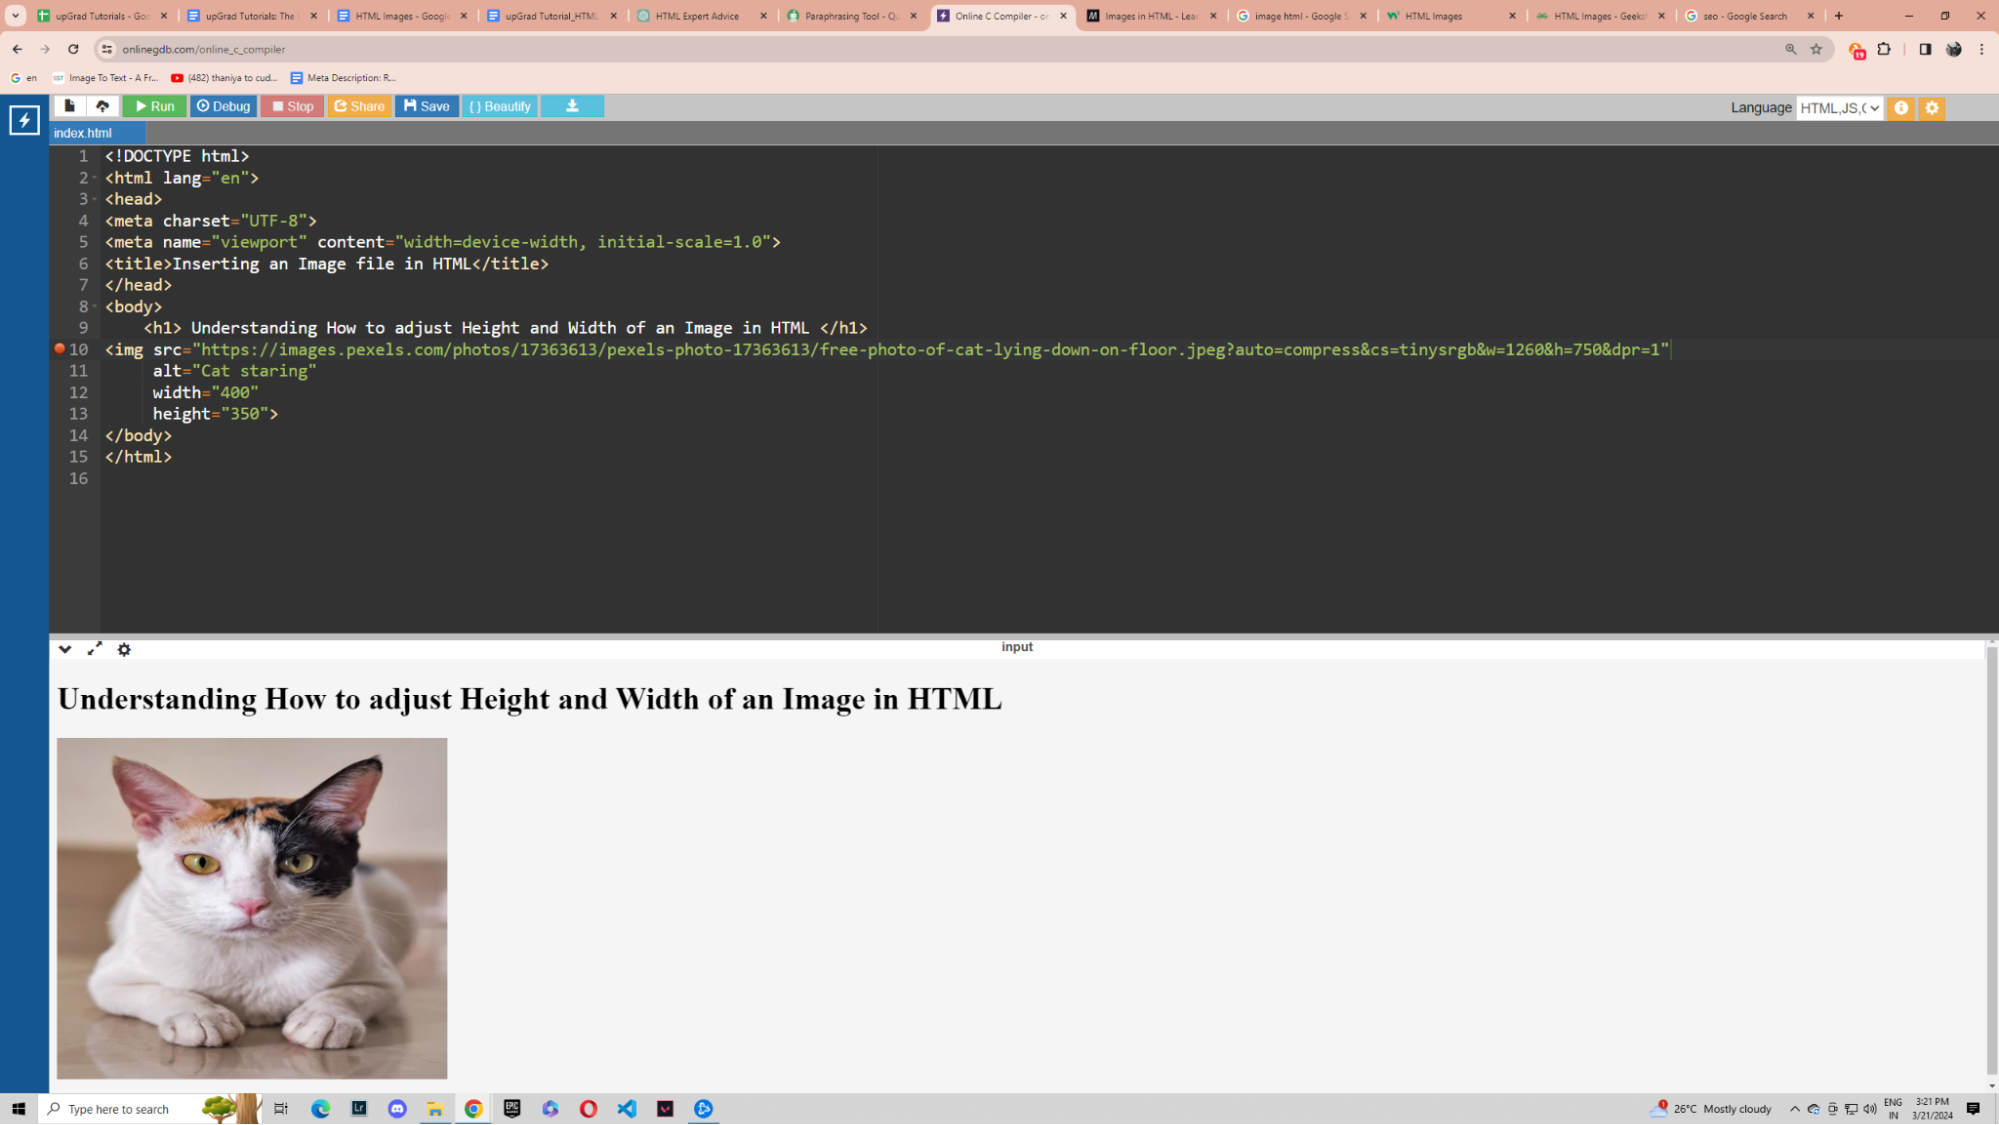
<body>
<h1> Understanding How to adjust Height and Width of an Image in HTML </h1>
<img src="https://images.pexels.com/photos/17363613/pexels-photo-17363613/free-photo-of-cat-lying-down-on-floor.jpeg?auto=compress&cs=tinysrgb&w=1260&h=750&dpr=1"
alt="Cat staring"
width="400"
height="350" />
</body>
</html>
As you can see, we have used the height and width attribute inside the <img> tag. We have put the values 400 and 350 for width and height, respectively. This prevents layout shifts and accounts for different device screen sizes and makes the website responsive and adaptable to different devices.
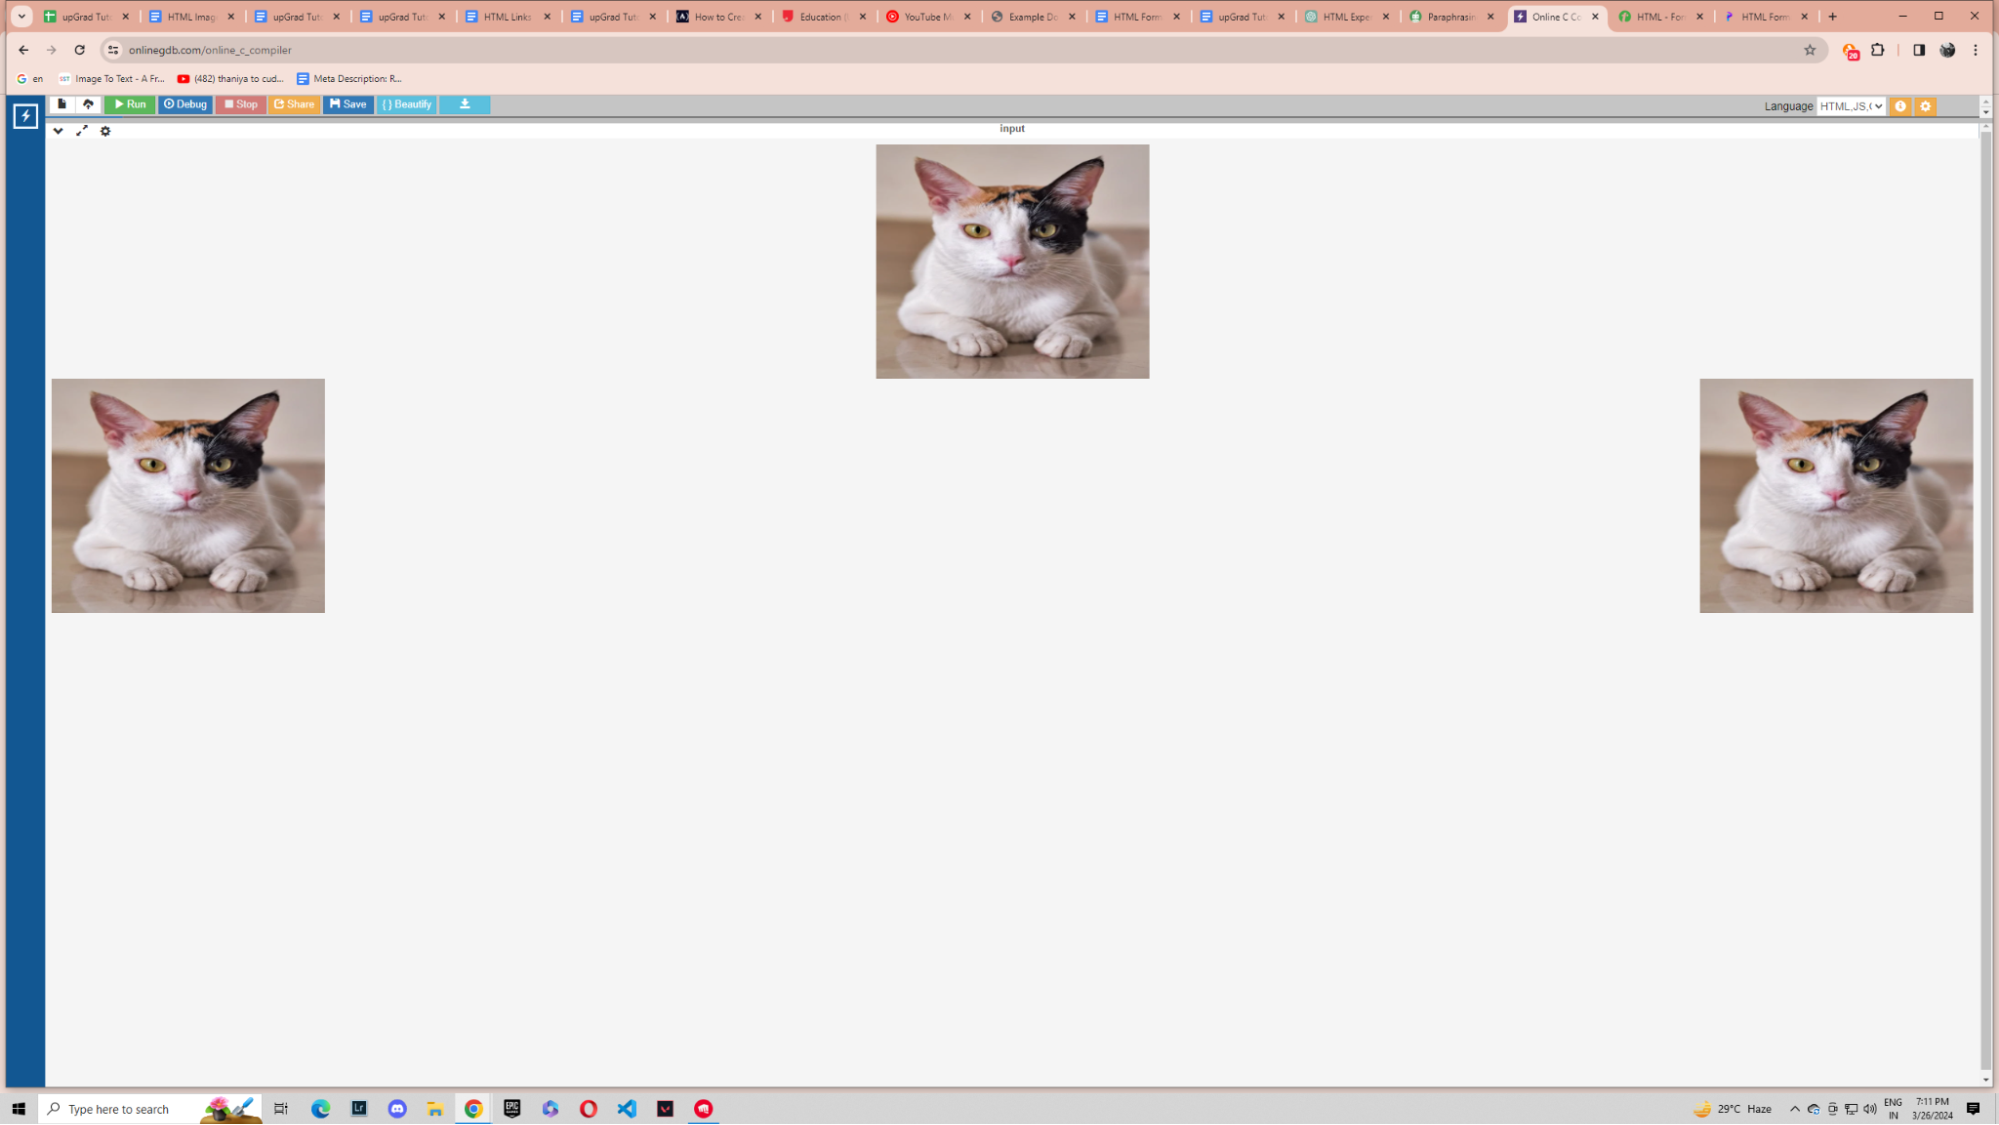
HTML Image Alignment
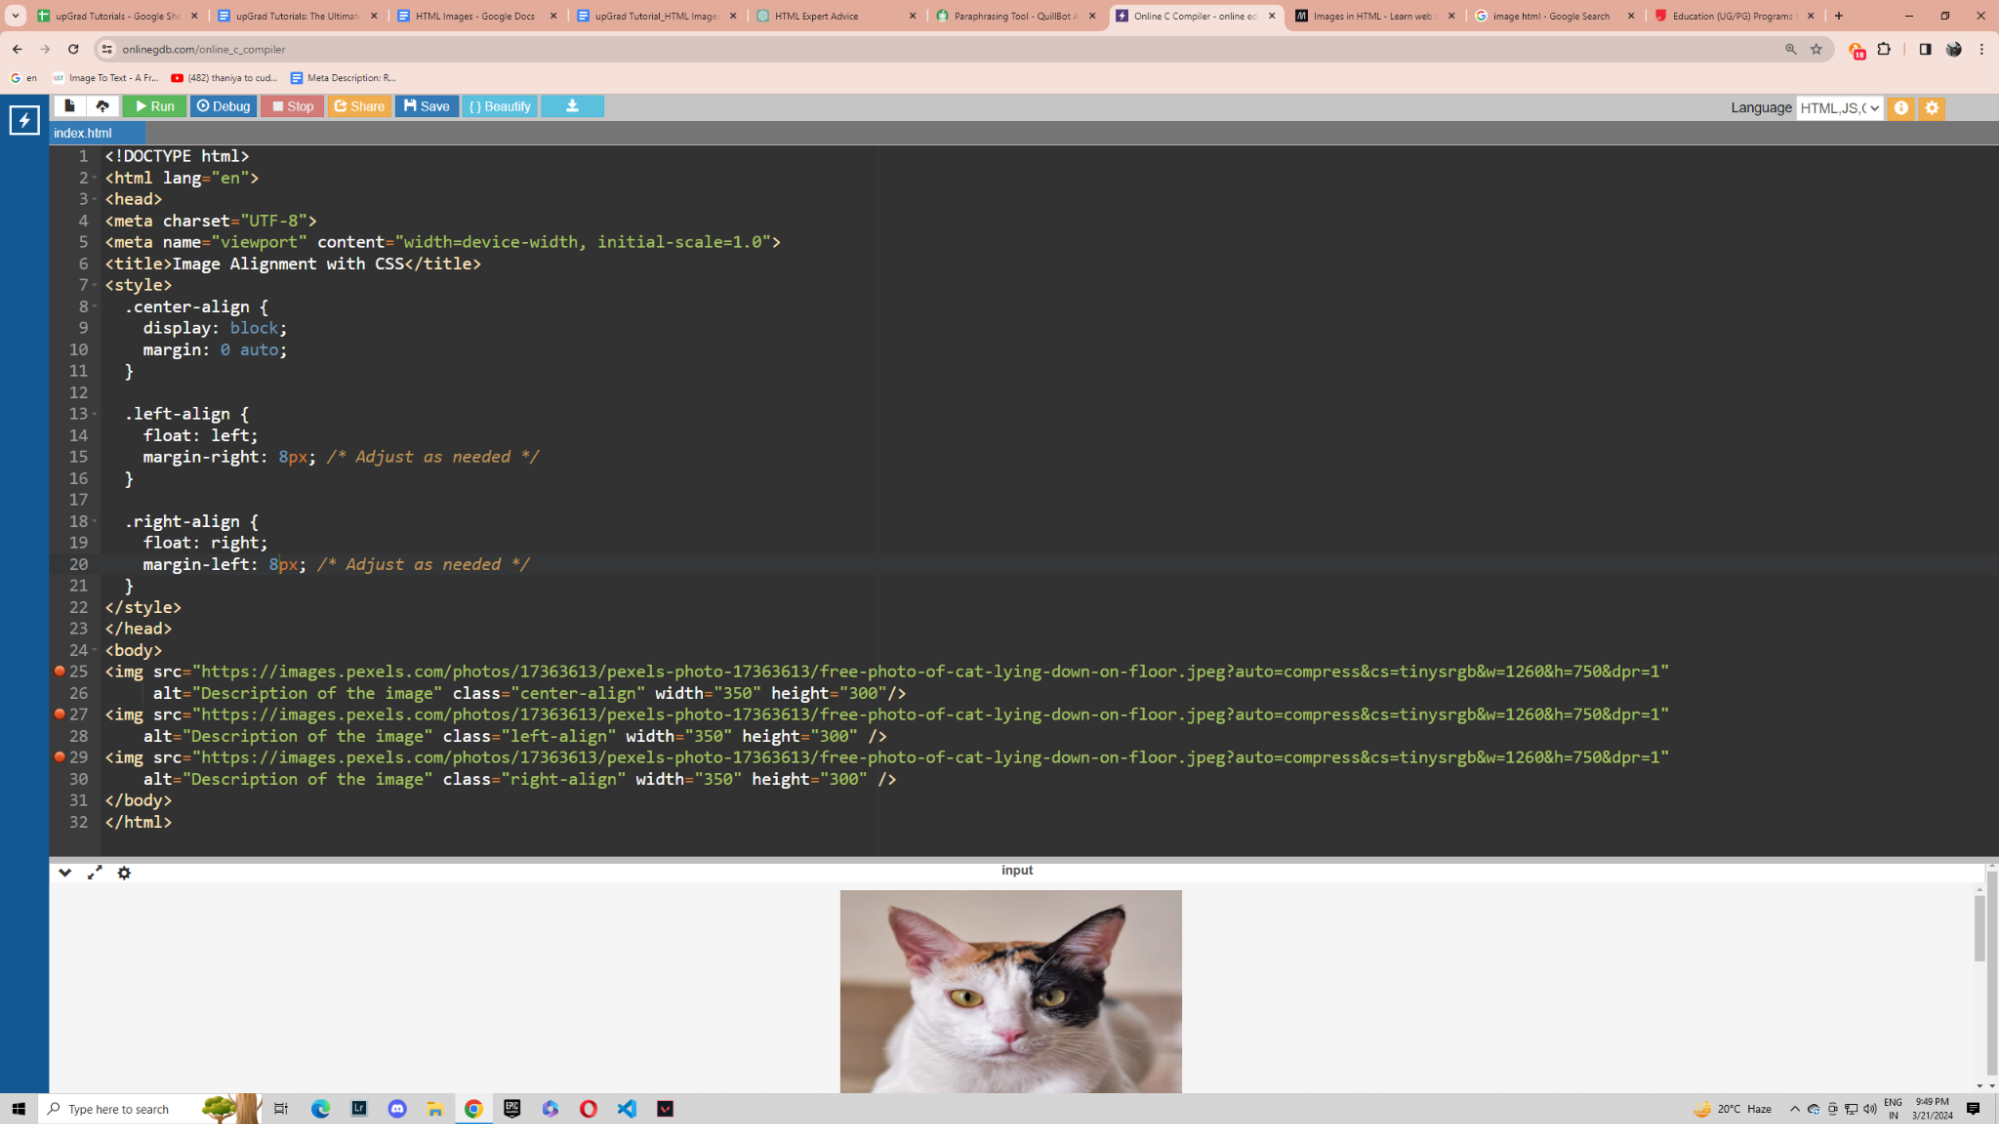
There are three main types of alignments for images in HTML, as shown in the example below:
- Left alignment: The image goes to the left-hand side.
- Center alignment: This is used for center image HTML
- Right alignment: The image goes to the right-hand side
Code:
<!DOCTYPE html>
<html lang="en">
<head>
<meta charset="UTF-8">
<meta name="viewport" content="width=device-width, initial-scale=1.0">
<title>Image Alignment with CSS</title>
<style>
.center-align {
display: block;
margin: 0 auto;
}
.left-align {
float: left;
margin-right: 8px; /* Adjust as needed */
}
.right-align {
float: right;
margin-left: 8px; /* Adjust as needed */
}
</style>
</head>
<body>
<img src="https://images.pexels.com/photos/17363613/pexels-photo-17363613/free-photo-of-cat-lying-down-on-floor.jpeg?auto=compress&cs=tinysrgb&w=1260&h=750&dpr=1"
alt="Description of the image" class="center-align" width="350" height="300"/>
<img src="https://images.pexels.com/photos/17363613/pexels-photo-17363613/free-photo-of-cat-lying-down-on-floor.jpeg?auto=compress&cs=tinysrgb&w=1260&h=750&dpr=1"
alt="Description of the image" class="left-align" width="350" height="300" />
<img src="https://images.pexels.com/photos/17363613/pexels-photo-17363613/free-photo-of-cat-lying-down-on-floor.jpeg?auto=compress&cs=tinysrgb&w=1260&h=750&dpr=1"
alt="Description of the image" class="right-align" width="350" height="300" />
</body>
</html>
Hyperlinking an Image in HTML
I am sure you have seen images on websites where you can click the image, and it takes you to a different page. This can be done using the anchor tag or the <a> tag. What we have to do is encase the <img> element inside the <a> tag and put the link of the website we want the user to reach when they click the image. This is also how you can make a button image HTML.
Let me show you how to do it with the help of an example.

Code:
<!DOCTYPE html>
<html lang="en">
<head>
<meta charset="UTF-8">
<meta name="viewport" content="width=device-width, initial-scale=1.0">
<title> Example for How to Hyperlink an Image in HTML</title>
</head>
<body>
<h1> How to Hyperlink an Image in HTML </h1>
<a href="https://en.wikipedia.org/wiki/Cat">
<img src="https://images.pexels.com/photos/17363613/pexels-photo-17363613/free-photo-of-cat-lying-down-on-floor.jpeg?auto=compress&cs=tinysrgb&w=1260&h=750&dpr=1",
alt="Cat staring"
width="400"
height="350"
title="Cat" />
</a>
</body>
</html>
Here, as you can see from the code, we have hyperlinked the image of the cat with the Wikipedia page of cats. Thus, if you click the image, it will take you to the Wikipedia page for cats when you click on the image.
Let me show you what happens if I click on the image.

The linked page opened, and thus, our image is hyperlinked successfully!
Wrapping Up
I hope this tutorial has been helpful in guiding you to the HTML img properties. Images are one of the most popular forms of media used in modern websites. HTML images are essential to make your websites intuitive and eye-catching.
Learning the basics of HTML images is just a stepping stone in web development. Learning more complex topics like implementing HTML image map and images slider HTML can benefit you immensely in fortifying your CV. In my experience, doing a professional course can go a long way in the right direction. You can check out courses from upGrad. They collaborate with some of the best universities around the world and offer industry-relevant certifications. The courses are created with some of the best professors available.
Frequently Asked Questions
1. What is an HTML image?
The tag in HTML displays images on web pages. It requires the src element to indicate the image file's URL. You may add attributes to HTML images, such as alt (alternative text) for accessibility and width and height for image measurements. The
tag in HTML displays images on web pages. It requires the src element to indicate the image file's URL. You may add attributes to HTML images, such as alt (alternative text) for accessibility and width and height for image measurements. What is picture tag HTML?
2. What is picture tag HTML?
HTML's tag allows for multiple image sources or versions that depend on variables like screen size and device features. It's usually used with the element to specify alternative image files for certain contexts. How do I use a PNG image in HTML?
3. How do I use a PNG image in HTML?
To use a PNG image in HTML, use the tag with the src attribute set to the image's location on your PC. To use a PNG image in HTML, use the tag with the src attribute set to the image's location on your PC. Why do we use images in HTML?
4. Why do we use images in HTML?
We use HTML images to make the web page appealing, offer context, convey information, and make it more intuitive, improving the user experience. Which type of images are used in HTML?
5. Which type of images are used in HTML?
Image formats that can be used in HTML are: Raster image formats like JPEG, PNG, and JIF.Vector image formats like SVG.Clickable image maps. Raster image formats like JPEG, PNG, and JIF. Vector image formats like SVG. Clickable image maps. What is the best way to display images in HTML?
6. What is the best way to display images in HTML?
tag is used to display HTML images. You have to specify the location of the image in the src and give a name for the image in the alt section.
tag is used to display HTML images. You have to specify the location of the image in the src and give a name for the image in the alt section. Where should images be stored in HTML?
7. Where should images be stored in HTML?
Images should be kept in a directory within your web server's file system, either in the same folder structure as your HTML files or in a separate "images" folder. This makes it easier to find the images while developing the web page and thus leads to fewer bugs. How to create a HTML image?
8. How to create a HTML image?
To display an image in HTML, use the tag and specify the src attribute to the picture's URL or file path. To display an image in HTML, use the
tag and specify the src attribute to the picture's URL or file path.

Author|416 articles published


upGrad Learner Support
Talk to our experts. We are available 7 days a week, 10 AM to 7 PM
Indian Nationals
Foreign Nationals
Disclaimer
The above statistics depend on various factors and individual results may vary. Past performance is no guarantee of future results.
The student assumes full responsibility for all expenses associated with visas, travel, & related costs. upGrad does not .