Introduction
Java is an agile, object-oriented programming language. It helps developers write code once and run it on any platform. It provides a robust ecosystem. This includes a virtual machine (JVM), libraries, and tools. This makes it popular for building various applications, from web and mobile to enterprise systems.
This tutorial teaches how to set up Java home and IDE on macOS.
Overview
In this tutorial, we will mainly deal with areas such as setting up JAVA_HOME and the IDE on macOS, the difference between JDK, JRE, and JVM, the first Java program on a Mac, and using a terminal via homebrew, among others.
Which One Do I Need: JVM, JRE, or a JDK?
The JVM (Java Virtual Machine) is responsible for executing Java programs. It takes the compiled bytecode. This is generated by the Java compiler (JAVAC). Then the JVM converts it into machine code. This is done to understand and execute it by the underlying hardware. The JVM is integral to the JDK (Java Development Kit) and the JRE (Java Runtime Environment). It performs various functions, such as memory management and security.
The JDK is a comprehensive package. This includes all the tools necessary for developing Java applications. It encompasses the compiler (JAVAC), the JRE, debugging tools, documentation (JavaDocs), and other utilities. The JDK provides a complete development environment. It allows programmers to write, compile, and test their Java code.
The JRE is a subset of the JDK. It is solely focused on running Java applications. It comprises the JVM, class libraries, and other resources required to execute Java bytecode. The JRE does not include development tools like the compiler or debugger. Its primary purpose is to provide a runtime environment for running Java programs.
JDK is essential for both compiling and running Java programs. It includes the necessary development tools and the JRE, encompassing the JVM and libraries for executing Java bytecode. The JRE, on its own, allows the execution of Java programs but lacks the development tools required for application development.
Difference Between JDK, JRE, and JVM
Here is a comprehensive list of differences between JDK, JRE, and JVM:
| JDK (Java Development Kit) | JRE (Java Runtime Environment) | JVM (Java Virtual Machine) |
Definition | Comprehensive package for developing Java applications | A subset of JDK focused on running Java applications | Runtime environment responsible for executing Java bytecode |
Components | Compiler (JAVAC), debugger, JavaDocs, libraries, development tools | JVM, libraries, applet support, plugins | Interpreter and runtime system for executing Java bytecode |
Purpose | Provides tools and resources for developing Java programs | Allows running Java programs | Converts bytecode into machine code and manages program execution |
Development Tools | Yes (includes compiler, debugger and other utilities) | No (focused on the runtime environment) | No (focused on the runtime environment) |
Execution | Can compile and run Java programs | Can only run Java programs | Executes compiled bytecode on the target hardware |
Platform-Dependent | Yes, different JDK versions for different platforms | Yes, JREs specific to each platform | Yes, JVM implementation varies for different platforms |
Usage | Required for both development and execution of Java programs | Only required for executing Java programs | Only required for executing Java programs |
Example | JDK 17 | JRE 17 | JVM (HotSpot, OpenJ9, etc.) |
How to Download Java for Mac?
There are two ways to download Java for Mac:
- Downloading Java from the Oracle Website.
- Downloading Java using the terminal via Homebrew.
Downloading JDK 17 from The Oracle Website
Here are the steps to download JDK 17 from the Oracle website:
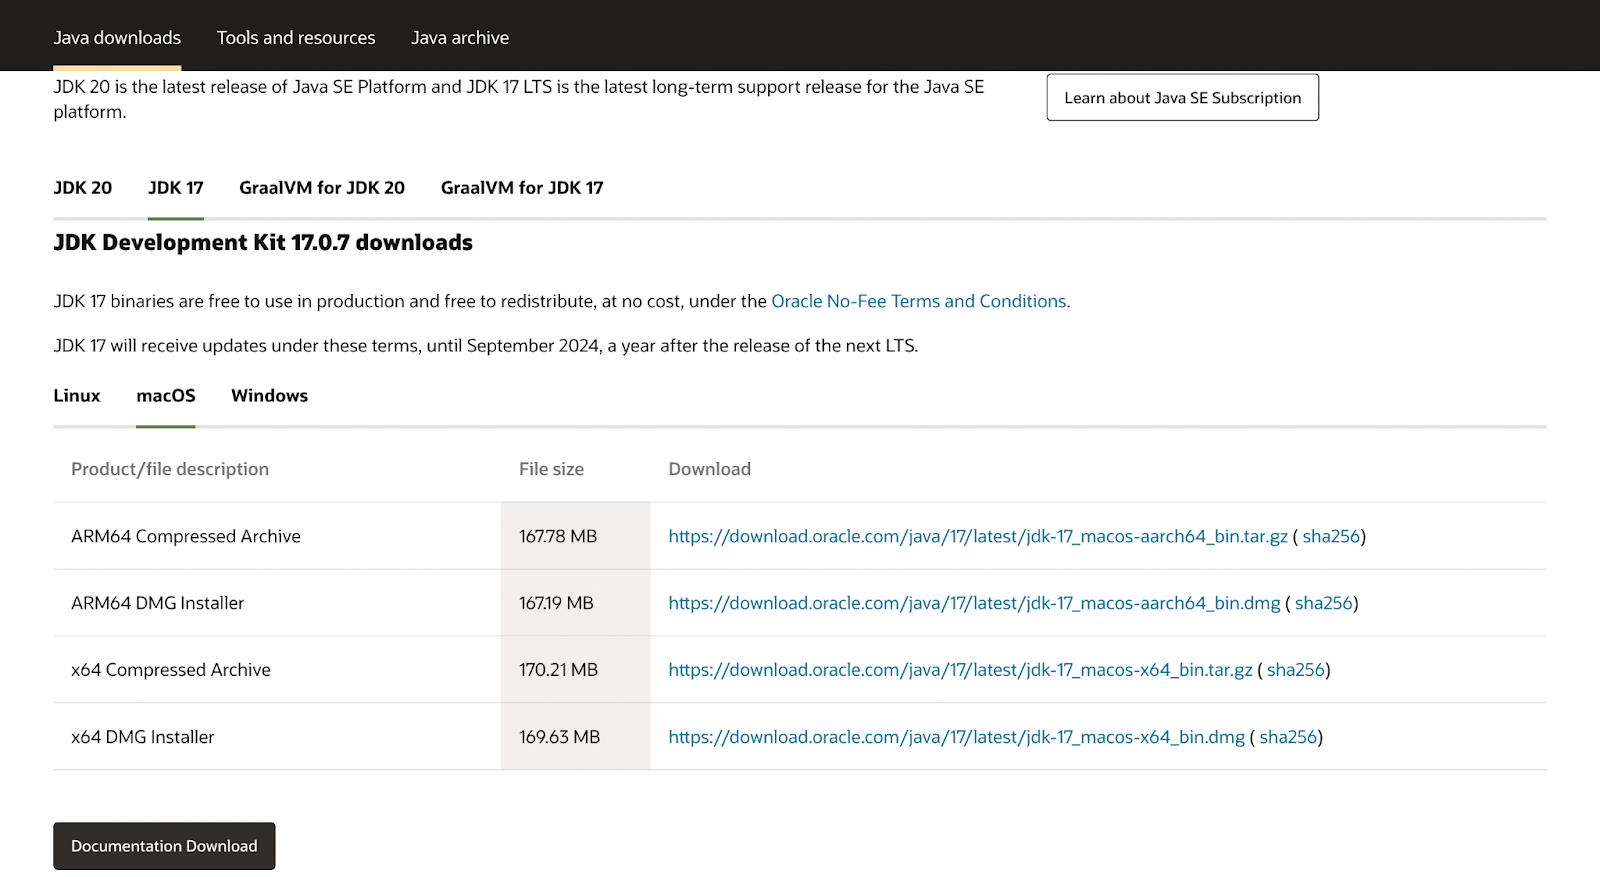
- Then click the download link for the macOS version (“x64 DMG Installer”). The download should start automatically.
- After downloading, locate the downloaded .dmg file in your Downloads folder or the location you specified for downloads.
- Then double-click on the .dmg file to open it. This will mount the disk image and display its contents.

- In the mounted disk image, you will find a package file with a .pkg extension (e.g., JDK 17.0.7.pkg). Double-click on the package file to launch the JDK installer.

- Then follow the instructions in the installer to complete the installation process. You may need to provide your macOS system password to authorize the installation.

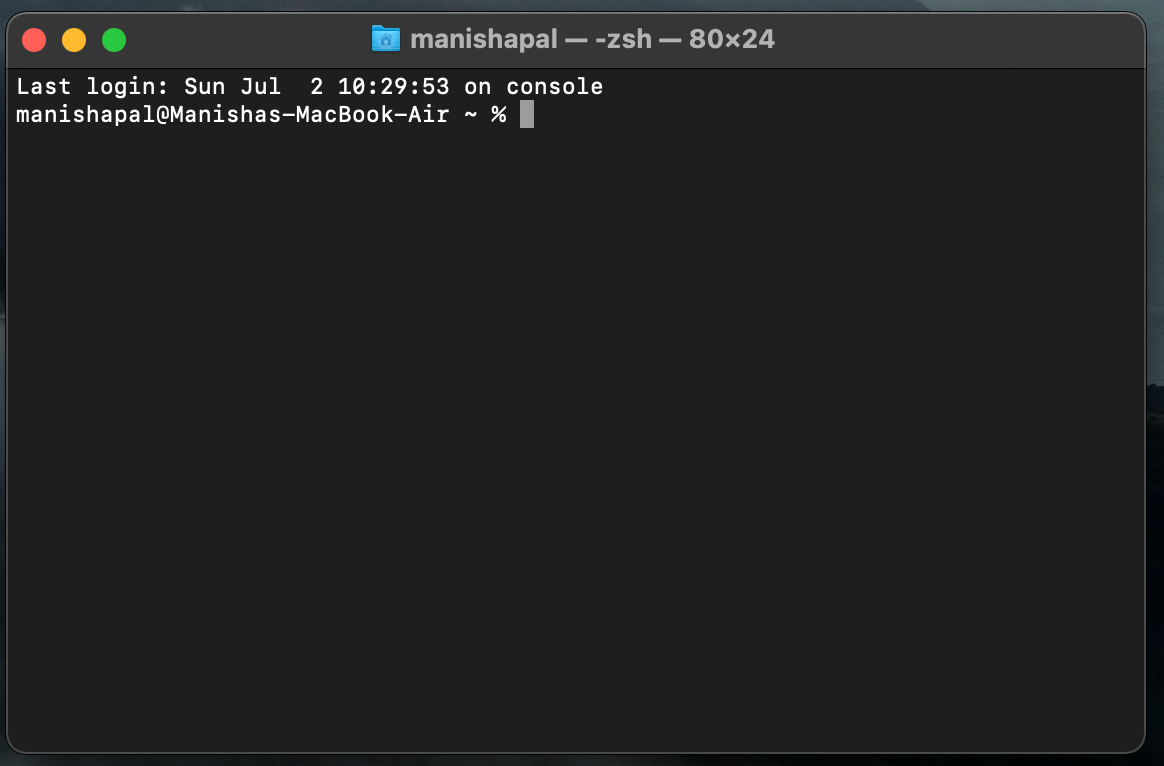
- After the installation is finished, you should have Java installed on your Mac. You can verify the installation by opening the Terminal application and running the command “java -version”. It should display the installed Java version information.

(Using javac -version)

(Java Version)
- Now to configure our environment variables, we have to open the terminal and find the Location of the JAVA_HOME. This is the command:
/usr/libexec/java_home -v{YOUR_VERSION}
(We must replace ‘YOUR_VERSION’ with the version number of your JDK installation. For example, if you are using JDK 17.0.7, the command would be:
/usr/libexec/java_home -v17

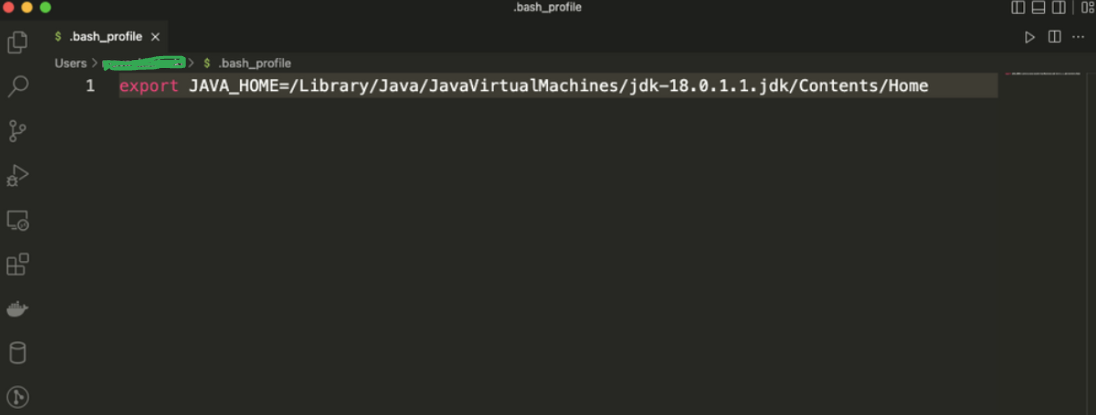
- Now that we know the file location, we must set this output as our JAVA_HOME Environment Variable. We can use any code editor to edit the file. We are using VS Code here.

(Visual Studio)
Setting Up JAVA_HOME and the IDE on MAC OS
We must first create a new file from VS and name it .bash_profile. Once we have opened the file, we have to use the following command:
export JAVA_HOME=/Library/Java/JavaVirtualMachines/jdk-{YOUR_VERSION}.jdk/Contents/Home
(For example, if you have JDK 18.0.1.1, it will be …/jdk-18.0.1.1.jdk/…)
( You can also use the code ~/. Bash_profile command if you are using the terminal)
We now have to refresh our environment file by using this command:
source ~/.bash_profile
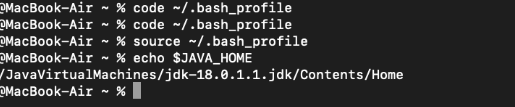
And then, we finally And echo the JAVA_HOME variable with this command:
echo $JAVA_HOME
Using Terminal via Homebrew (Installing OpenJDK)
Using Homebrew is another way we can install Java on macOS. Let us explore how to install OpenJDK on macOS using the terminal via Homebrew.
Step 1: Installing Homebrew
Homebrew is a popular package manager for macOS. It lets you easily install and manage software packages from the command line. To install Homebrew, open Terminal and enter the following command:
/bin/bash -c "$(curl -fsSL https://raw.githubusercontent.com/Homebrew/install/HEAD/install.sh)"
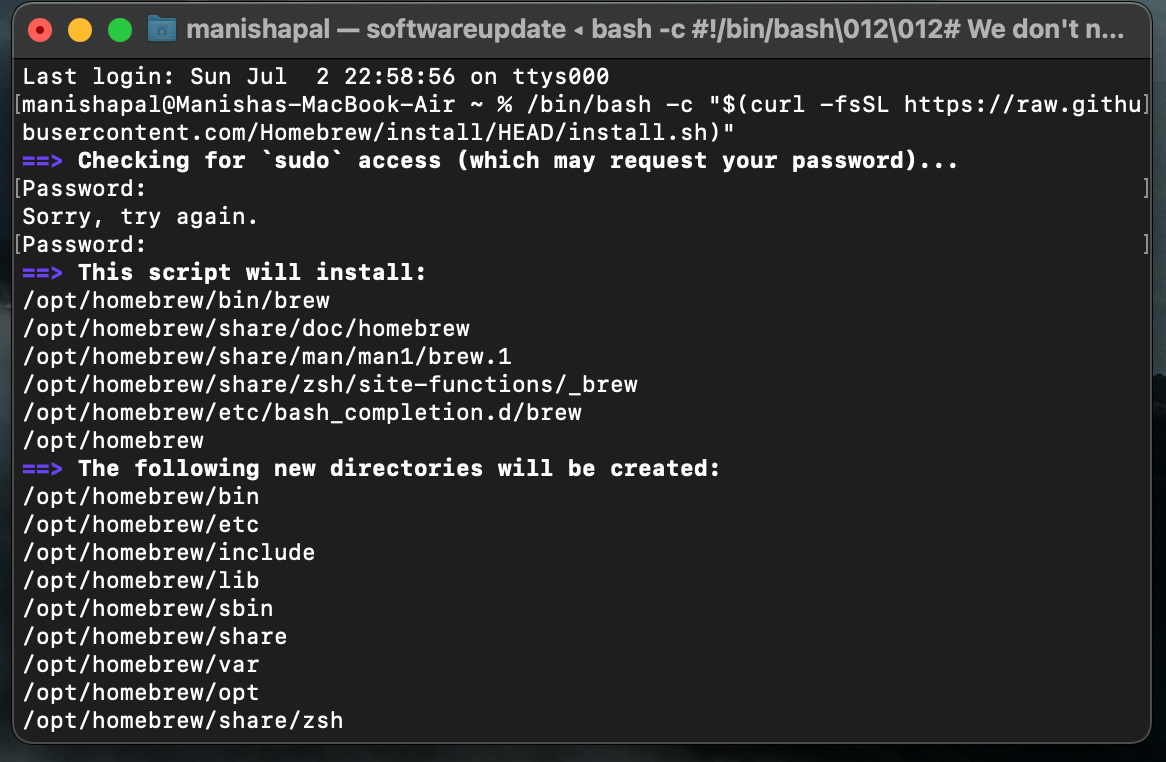
You will be asked for your password and then you will be asked to press return/enter to confirm the installation of the homebrew files.
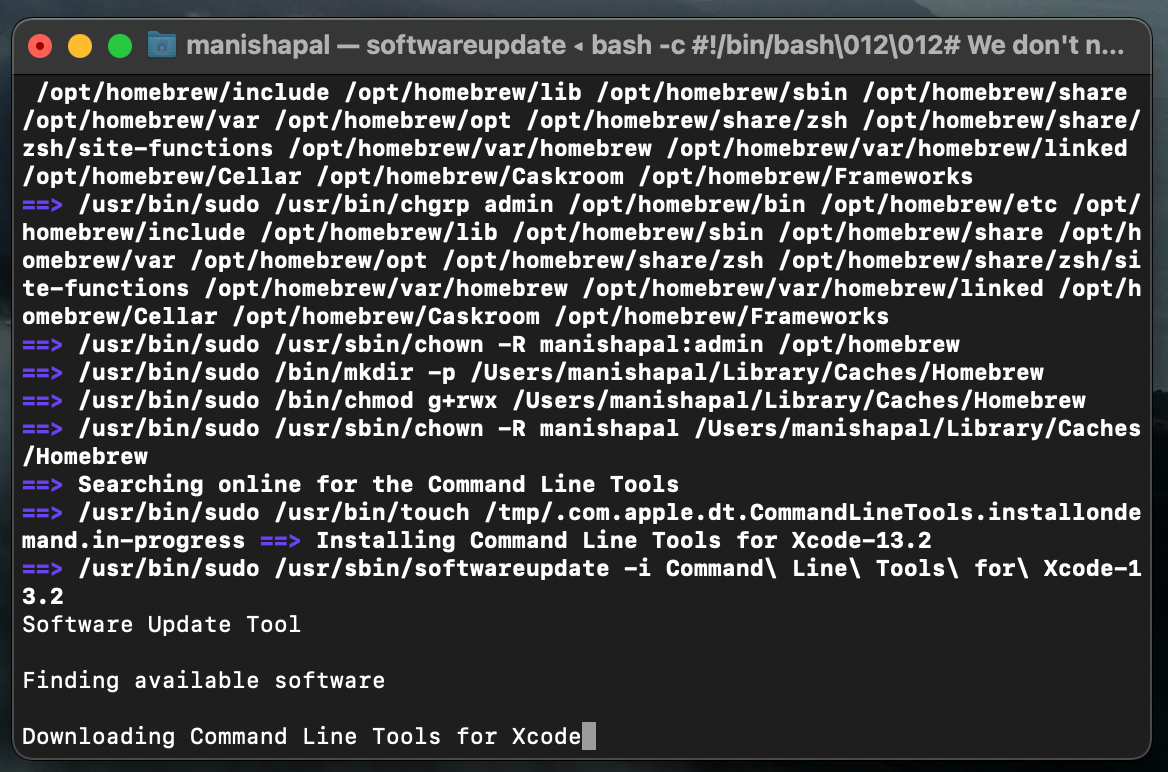
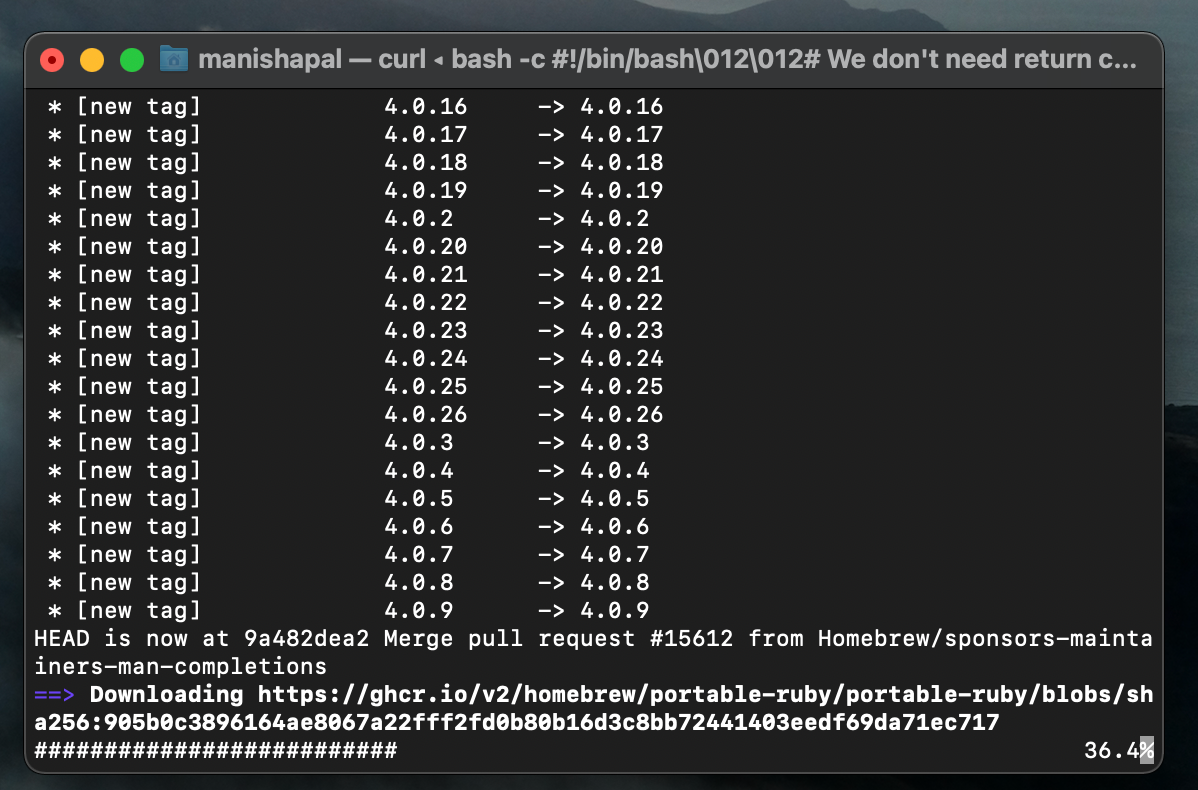
The directories will start getting created and the Command Line Tools for Xcode will get installed.
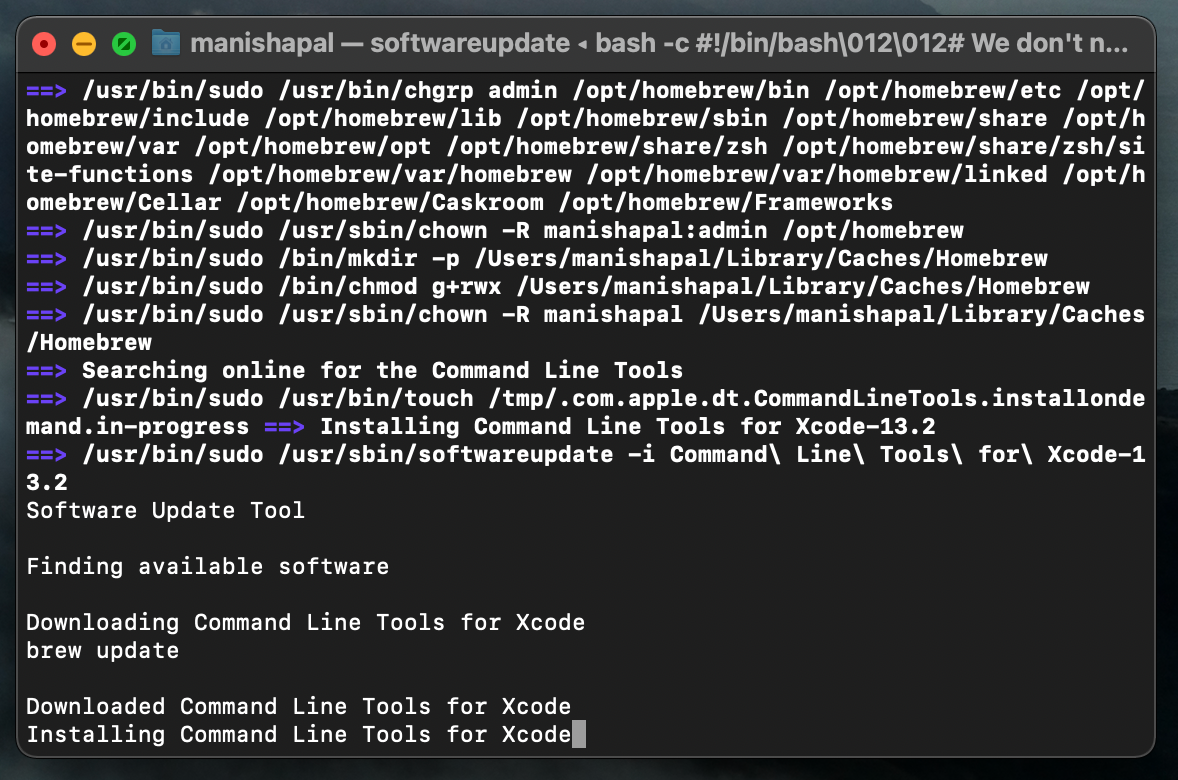
The downloading and installation process will take a bit of time and thus we have to be patient. Once the installation is done, Homebrew is ready to be used.
Installing OpenJDK
In order to install OpenJDK, we must now use this command:
brew install openjdk@11
You will get this error message if you already have OpenJDK installed, otherwise, OpenJDK will be installed in your system and you can finally verify the installation with “java -version”.

How to Set/Change the Path of Java on macOS?
To change the path of Java in your system, you need to open the Bash profile. The Bash profile is a script that runs every time you start a new Terminal session. Here is the command for opening the Bash profile in Terminal:
nano ~/.bash_profile
(This command will open the Bash profile in the Nano text editor.)
Then, we add the following line to set the Java path in the Nano editor:
export JAVA_HOME="/usr/local/opt/openjdk@17"
This line sets the JAVA_HOME environment variable to the path where OpenJDK is installed. Replace 17 with the appropriate Java version number if you installed a different version.
Finally, after adding the line, press Ctrl + X to exit Nano. It will prompt you to save the changes, so press Y and Enter to save the file.
Once we are done with the setup, we must refresh the bash profile. To apply the changes, run the following command in Terminal:
source ~/.bash_profile
We have now successfully set/changed the Java path on macOS.
Installing IDEs (IntelliJ and Eclipse)
IntelliJ IDEA
To install IntelliJ IDEA, we can follow these steps:
- Download the IntelliJ IDEA Community or Ultimate edition from the official JetBrains website (https://www.jetbrains.com/idea/).
- After the download, open the downloaded file and follow the installation instructions.
- After the installation is finished, you can launch IntelliJ IDEA from the Applications folder or Spotlight search.
Eclipse
To install Eclipse, we can follow these steps:
- Download Eclipse from the official Eclipse website (https://www.eclipse.org/downloads/).
- Choose the appropriate package for your needs (e.g., Eclipse IDE for Java Developers).
- After the download, open the downloaded file and follow the installation instructions.
- After the installation is finished, you can launch Eclipse from the Applications folder or Spotlight search.
First Java Program on Mac
To write the first program on Mac, we must first use a text editor or a code editor to write a Java program.
Here is a simple Java program for displaying the sentence “upGrad teaches programming.”:
public class upGradTutorials {
    public static void main(String[] args) {
        System.out.println("upGrad teaches programming.");
    }
}
We then save the file as upGradTutorials.java in our target directory.

Finally, we open the terminal and navigate to the directory where you saved the file using the cd command. We can then compile the Java program by using the command javac upGradTutorials.java. Once the compilation is successful, execute the program with the command java upGradTutorials.

You should see the output "upGrad teaches programming." displayed in the Terminal.

Conclusion
Setting up Java Home and IDE on macOS is fairly simple. This tutorial has very clearly elaborated on the process of installation. Mastering Java will be easier with the help of a certified course. If you want to be a software developer, you could up courses with credible learning platforms such as upGrad. The courses on upGrad are designed to make you ready for the industry. Visit upGrad to learn more.
FAQs
1. Can I have more than one version of Java installed on my Mac?
Yes, you can have more than one version of Java installed on your Mac. However, you must set the desired version as the default Java version. This has to be explicitly specified in your development environment.
2. Can I set the default Java version on my Mac?
You can use the “java_home” command to set the default Java version. Open the Terminal application. Run the command: “export JAVA_HOME=$(/usr/libexec/java_home)”. This sets the default Java version to the latest installed version.
3. Can I uninstall older versions of Java from my Mac?
Yes, you can uninstall older versions of Java from your Mac if required. Go to the "Applications" folder. Look for folders or files related to older Java versions. Move them to the Trash. Additionally, you can use the "Java Preferences" utility (located in the Utilities folder) to manage and uninstall Java versions.
Take the Free Quiz on Java
Answer quick questions and assess your Java knowledge


-d9bdeff6165f4eb1ba2adcebde78e961.svg)


-ae8d039bbd2a41318308f8d26b52ac8f.svg)
-35c169da468a4cc481c6a8505a74826d.webp&w=128&q=75)
-7f4b4f34e09d42bfa73b58f4a230cffa.webp&w=128&q=75)


-9cd0a42cab014b9e8d6d4c4ba3f27ab1.webp&w=3840&q=75)