For working professionals
For fresh graduates
- Study abroad
More
- Post Graduate Certificate in Data Science & AI (Executive)
- Gen AI Foundations Certificate Program from Microsoft
- Gen AI Mastery Certificate for Data Analysis
- Gen AI Mastery Certificate for Software Development
- Gen AI Mastery Certificate for Managerial Excellence
- Gen AI Mastery Certificate for Content Creation
- Post Graduate Certificate in Product Management from Duke CE
- Human Resource Analytics Course from IIM-K
- Global Master Certificate in Integrated Supply Chain Management
- Gen AI Foundations Certificate Program from Microsoft
- CSM® Certification Training
- CSPO® Certification Training
- PMP® Certification Training
- SAFe® 6.0 Product Owner Product Manager (POPM) Certification
- Post Graduate Certificate in Product Management from Duke CE
- Professional Certificate Program in Cloud Computing and DevOps
- Python Programming Course
- Executive Post Graduate Programme in Software Dev. - Full Stack
- AWS Solutions Architect Training
- AWS Cloud Practitioner Essentials
- AWS Technical Essentials
- The U & AI GenAI Certificate Program from Microsoft
1. Introduction
6. PyTorch
9. AI Tutorial
10. Airflow Tutorial
11. Android Studio
12. Android Tutorial
13. Animation CSS
16. Apex Tutorial
17. App Tutorial
18. Appium Tutorial
21. Armstrong Number
22. ASP Full Form
23. AutoCAD Tutorial
27. Belady's Anomaly
30. Bipartite Graph
35. Button CSS
39. Cobol Tutorial
46. CSS Border
47. CSS Colors
48. CSS Flexbox
49. CSS Float
51. CSS Full Form
52. CSS Gradient
53. CSS Margin
54. CSS nth Child
55. CSS Syntax
56. CSS Tables
57. CSS Tricks
58. CSS Variables
61. Dart Tutorial
63. DCL
65. DES Algorithm
83. Dot Net Tutorial
86. ES6 Tutorial
91. Flutter Basics
92. Flutter Tutorial
95. Golang Tutorial
96. Graphql Tutorial
100. Hive Tutorial
103. Install Bootstrap
107. Install SASS
109. IPv 4 address
110. JCL Programming
111. JQ Tutorial
112. JSON Tutorial
113. JSP Tutorial
114. Junit Tutorial
115. Kadanes Algorithm
116. Kafka Tutorial
117. Knapsack Problem
118. Kth Smallest Element
119. Laravel Tutorial
122. Linear Gradient CSS
129. Memory Hierarchy
133. Mockito tutorial
134. Modem vs Router
135. Mulesoft Tutorial
136. Network Devices
138. Next JS Tutorial
139. Nginx Tutorial
141. Octal to Decimal
142. OLAP Operations
143. Opacity CSS
144. OSI Model
145. CSS Overflow
146. Padding in CSS
148. Perl scripting
149. Phases of Compiler
150. Placeholder CSS
153. Powershell Tutorial
158. Pyspark Tutorial
161. Quality of Service
162. R Language Tutorial
164. RabbitMQ Tutorial
165. Redis Tutorial
166. Redux in React
167. Regex Tutorial
170. Routing Protocols
171. Ruby On Rails
172. Ruby tutorial
173. Scala Tutorial
175. Shadow CSS
178. Snowflake Tutorial
179. Socket Programming
180. Solidity Tutorial
181. SonarQube in Java
182. Spark Tutorial
189. TCP 3 Way Handshake
190. TensorFlow Tutorial
191. Threaded Binary Tree
196. Types of Queue
197. TypeScript Tutorial
198. UDP Protocol
202. Verilog Tutorial
204. Void Pointer
205. Vue JS Tutorial
206. Weak Entity Set
207. What is Bandwidth?
208. What is Big Data
209. Checksum
211. What is Ethernet
214. What is ROM?
216. WPF Tutorial
217. Wireshark Tutorial
218. XML Tutorial
Ultrasonic Sensor Arduino Code
Introduction
Many Arduino project components require ultrasonic sensors, like ultrasonic sensor Arduino code for obstacle detection or distance measurement. Learn how to connect and utilize an ultrasonic sensor with an Arduino board in this guide as we examine the Ultrasonic Sensor Arduino Code.
Overview
An ultrasonic sensor is a device that measures distances by using sound waves at a frequency greater than what the human ear can hear. It comprises a transmitter that emits ultrasonic waves, a receiver that captures and counts the waves that the item in its path reflects back to it, and a transmitter that emits ultrasonic waves.
How Does a Sensor for Ultrasounds Operate?
The production of high-frequency sound waves, generally between 40 and 200 kHz, is required for the ultrasonic sensor to work. The air is filled with these sound waves, which bounce off of adjacent things. The distance between the item and the sensor is then calculated by measuring the time it takes for the sound waves to return.
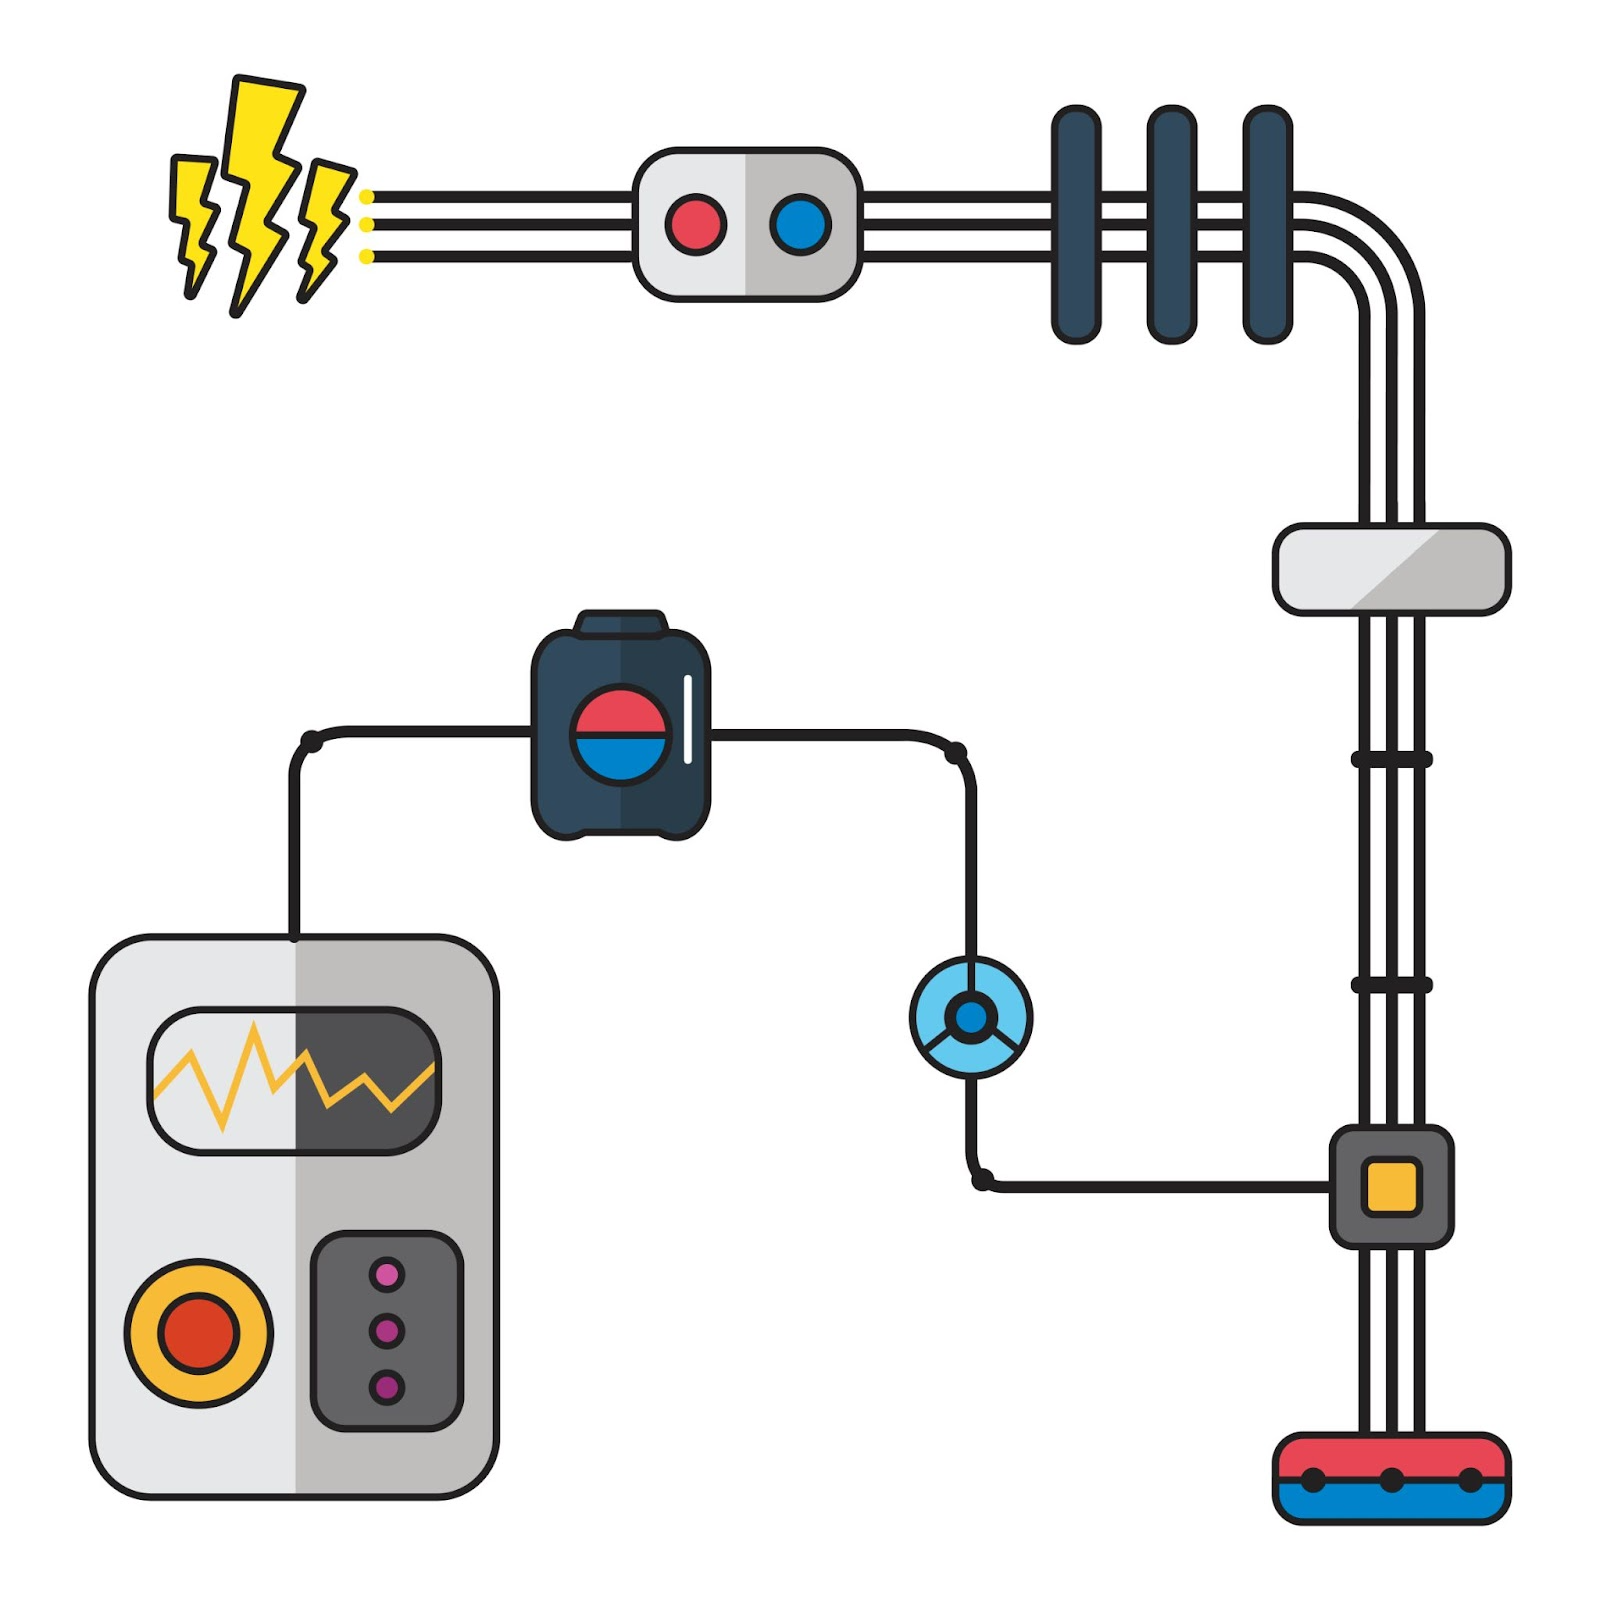
Ultrasonic Sensor Arduino Connection
The following are some prerequisites for an ultrasonic sensor Arduino connection:
- Connect the 5V pin of the Arduino to the VCC pin of the sensor.
- Connect the GND pin of the sensor to the GND pin of the Arduino.
- Arduino’s digital pins should be linked to the sensor's Echo and Trig pins.
- After creating these connections, you can then construct the ultrasonic sensor Arduino code for your project. As per sensor data, the pins will be set up in the code as information or results, and functions will be used to read and calculate distances.
Consider the ultrasonic sensor Arduino code model given below to determine distance:
Structure of Ultrasonic Sensor
The ultrasonic sensor is composed of several crucial parts that work in concert to measure distances properly. A transmitter and a receiver are the two crucial parts of the sensor.
The transmitter emits high-pitched sound waves that humans cannot hear. These sound waves move through the air and bounce off adjacent objects.
The sound waves that have returned are picked up by the receiver, which is situated adjacent to the transmitter. It decides what amount of time sound waves require to make a trip from a sensor to an object and return.
Utilizing the time estimation, the sensor might compute the distance between itself and the objective. This estimation involves the speed of sound in air, which is roughly 343 meters per second at ambient temperature.
A few things must be taken into consideration to get accurate readings.
1. Because ultrasonic waves travel in a cone-shaped beam, the angle at which the sensor detects them determines how accurately the distance is measured.
2. Measurements might vary based on how a certain object reflects or absorbs sound waves.
3. To address these issues, certain ultrasonic sensors allow you to vary the sensitivity levels and the beam width.
Ultrasonic Sensor Timing Diagram
An ultrasonic sensor's timing diagram shows visually how the sensor calculates distances depending on how long sound waves take to travel.
Let's look at an illustration. Assume the ultrasonic sensor is positioned one meter away from the target.
The transmitter sends out a burst of high-frequency sound waves when the sensor is activated. The item can be detected once these waves pass through the atmosphere. Some of the sound waves reflect towards the sensor after they have passed the object.
The ultrasonic sensor's receiver then detects the echoes and determines the distance of the object.
A vertical line indicating the trigger of the ultrasonic sensor can be seen in the timing diagram. A horizontal line drawn from this location would show how long it takes for sound waves to travel to the item and return to the sensor. This line's length indicates how long it takes to travel round trip.
For instance, let's assume that the sound waves travel to the item and return in 0.01 seconds. We can determine the distance using this time measurement and the knowledge that sound travels through air at a speed of around 343 meters per second.
Distance = Speed × Time
Distance = 343 m/s × 0.01 s
Distance = 3.43 meters
Using the timing diagram and the observed time, we can therefore estimate that the item is 3.43 meters away from the ultrasonic sensor.
An ultrasonic sensor's awareness settings and radiate width can be changed to diminish estimation blunders welcomed by various items' acoustic ingestion and reflection.
Required Hardware An ultrasonic sensor can only be set up with the following pieces of hardware:
1. Ultrasonic Sensor: The most important part that sends and receives sound waves is the ultrasonic sensor. It regularly comes as a little module with a coordinated transmitter and receiver.
2. Microcontroller or Arduino Board: To interface with the ultrasonic sensor, you will require a microcontroller or an Arduino board. This board will dissect the information from the sensor and complete the calculations expected to work out the distance.
3. Jumper Wires: These links are utilized to interface an ultrasonic sensor to an Arduino board or microcontroller.
4. Power supply: The ultrasonic sensor and the microcontroller or Arduino board likewise require a power supply, like a battery or USB connection.
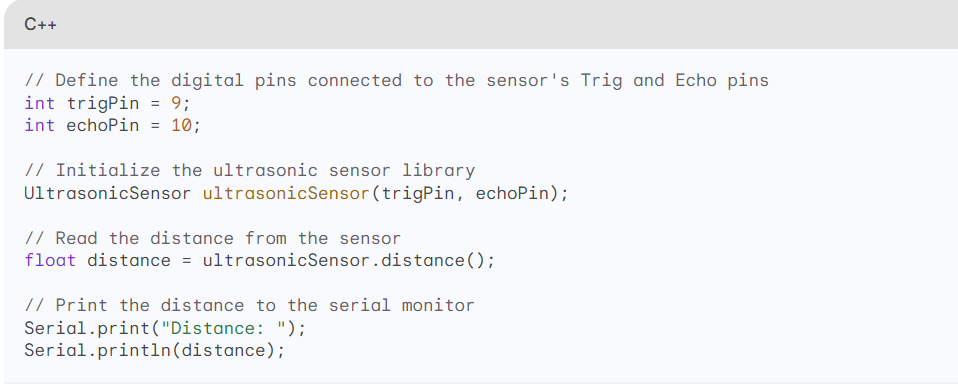
Ultrasonic Sensor Code
Utilize a programming language like C++ or the Arduino IDE to program the ultrasonic sensor. The following line of code illustrates how to use an ultrasonic sensor to measure distance:
cpp
#include |
The "NewPing" library is utilized in this code to help with the use of ultrasonic sensor Arduino code for obstacle detection. It sets up the trigger and reaction pin, decides the greatest estimation distance, makes an example of the ultrasonic sensor, and afterward pings the sensor on various occasions to get an estimation in centimeters. The distance is then displayed on the serial monitor.
Ultrasonic Sensor Working Principle
Sound waves are the reason for the activity of ultrasonic sensors. It produces high-recurrence sound waves and measures the time it takes them to get back to the surface after hitting an object. The distance between the sensor and the object is not entirely determined by the speed of sound, which is roughly 343 meters per second.
While the speed of sound is a critical factor in deciding the distance between the sensor and the object, different elements can be added to the general estimation. Important factors like air temperature and humidity influence the speed of sound. In addition, any hindrances or checks in the way of the sound waves can likewise affect the precision of the distance estimation obtained from the ultrasonic sensor. Hence, it is vital to consider these factors when involving ultrasonic sensors for distance estimation.
The "NewPing" library is commonly used in the ultrasonic sensor Arduino code to analyze distances. To indicate the pins of the microcontroller or Arduino board that are connected with the trigger pin and reaction pin of the ultrasonic sensor, the constants "TRIGGER_PIN" and "ECHO_PIN" are determined. The constant "MAX_DISTANCE" is used to specify the sensor's maximum measurement distance.
The ultrasonic sensor will then, at that point, be pinged to get the distance in cm, utilizing the "sonar.ping_cm()" technique. This distance is maintained in the variable 'separation'. Distances are kept in touch with the serial monitor utilizing the "Serial.print()" technique for simple troubleshooting and observation of estimations.
There is a millisecond stop after the distance is printed before rehashing the cycle. This postponement guarantees that precise estimations are taken and that the sensor has sufficient opportunity to get a reaction from the component. You can monitor all that progressively by constantly pinging the ultrasonic sensor and printing the distance. Applications, for example, obstruction recognition or distance discovery, could benefit the most.
Make sure that the ultrasonic sensor's trigger and response pins are connected to the appropriate pins on your microcontroller or Arduino board. Also, to get to the essential capabilities, try to incorporate the "NewPing" library in your code.
Steps to Upload Code to Project
Follow these steps toward adding code to your Arduino ultrasonic sensor project:
1. Interface your microcontroller or Arduino board to the ultrasonic sensor. Ensure that the right pins on your board are associated with the empowerment and reaction pins.
2. Send off the integrated development environment (IDE) you decide to use to program Arduino.
3. Make another sketch and add the "NewPing" library to your program. Go to Outline > Incorporate Library > NewPing to do this.
4. Determine which pins on the microcontroller or Arduino board will be utilized for the ultrasonic sensor by setting the constants "TRIGGER_PIN" and "ECHO_PIN".
5. Call "Serial.begin()" in the "setup()" method to start serial communication. This permits you to print distance estimations on the computer screen.
6. Make a NewPing object with the fitting trigger and reverberation pins in the "circle()" capability. You can accomplish this by characterizing a variable of type "NewPing" and calling its constructor while giving the empower and reaction pins.
7. To get the distance in centimeters, utilize the 'ping_cm()' technique for the NewPing object. "Distance" is a variable that ought to be utilized to store this value.
8. Utilizing capability 'Serial.println()', print the 'dividing' esteem on the serial monitor. This will show distance estimations in centimeters.
9. By choosing the Download button in the IDE, you can download the code to your microcontroller or Arduino board.
10. In your IDE, click the Serial Monitor button to send off the serial monitor. Set the baud rate (frequently 9600) to the value given in your code.
Conclusion
In conclusion, the "Serial.begin()" function is called to start serial communication and enable the serial monitor to output distance measurements in the Ultrasonic Sensor Arduino Code. A NewPing object with the appropriate trigger and echo pins is created during the "loop()" method. The "ping_cm()" function of the NewPing object is used to measure the distance and store the results in the "distance" variable.
The serial monitor is then used to print this distance, utilizing the 'Serial.println()' capability. To decide the distance estimations, the serial monitor is opened after the code has been transferred to the microcontroller or Arduino board.
FAQs
1: What is the purpose of the serial monitor?
The serial monitor readings determine the ultrasonic sensor distance range from an item.
2: How could my project be tested?
Position objects concerning the ultrasonic sensor at various distances to test your project, and then monitor the distance readings on the serial display.
3: How can I make my task more useful?
You can utilize restrictive proclamations, similar to an if-else explanation, in the "circle()" capability to decide if the deliberate distance surpasses a particular limit and afterward make the suitable move.

Author


upGrad Learner Support
Talk to our experts. We are available 7 days a week, 9 AM to 12 AM (midnight)
Indian Nationals
1800 210 2020
Foreign Nationals
+918068792934
Disclaimer
1.The above statistics depend on various factors and individual results may vary. Past performance is no guarantee of future results.
2.The student assumes full responsibility for all expenses associated with visas, travel, & related costs. upGrad does not provide any a.